Tutorial - How to update program of HMI Display
Tutorial Video
Tutorial Overview
We offer two methods for updating the UI program for all HMI products: one is via SD card, and the other is through the UART port. The method of updating using an SD card varies depending on the MCU.
1-Programming by SD Card
For HMI Displays equipped with the LT7689 MCU, simply insert the SD card directly into the module's SD card slot. After inserting the SD card, powering on the HMI Display will automatically initiate the update process.
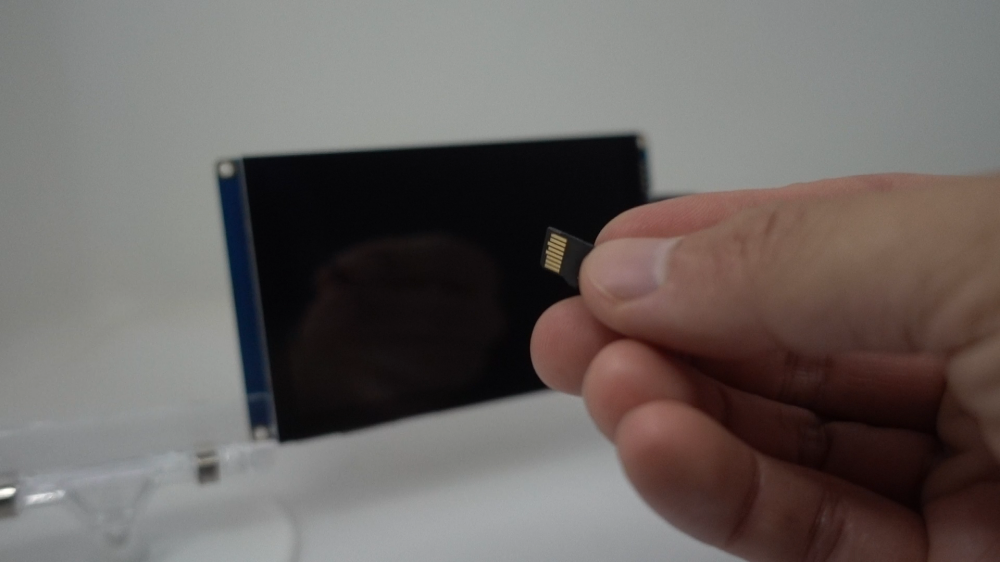
On the other hand, if the HMI Display utilizes the LT168A MCU, it first needs to be connected to a debugging board. Once powered on, insert the SD card into the slot on the debugging board to complete the update.
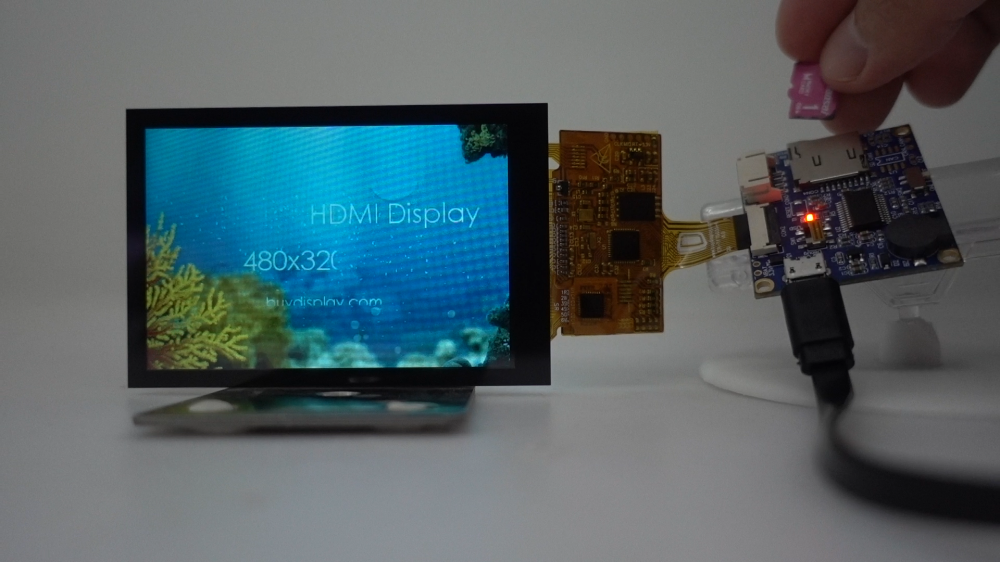
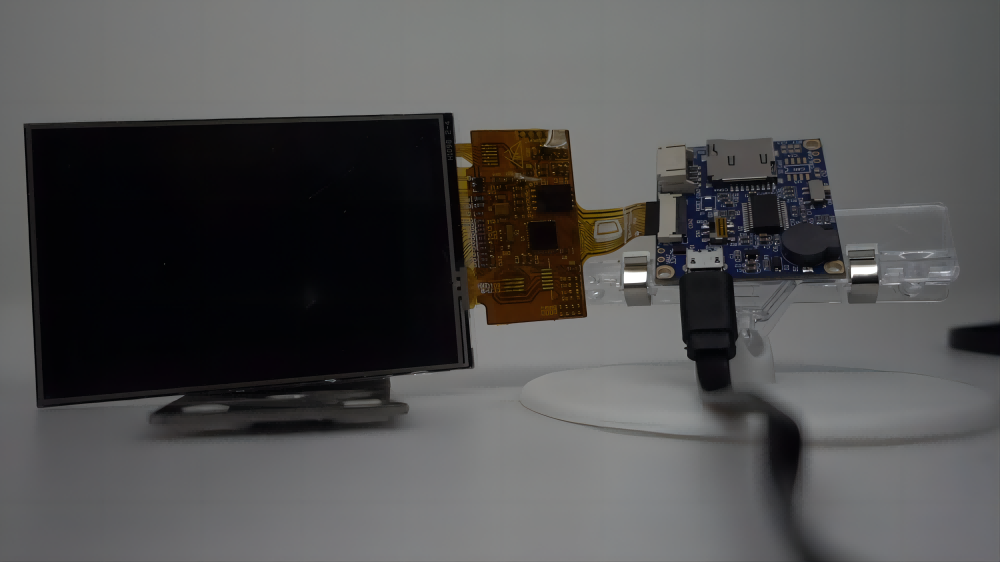
2-Programming by UART Port
To update via the UART port, you will require the LT_Uart_GUI software and a debugging board. The LT_Uart_GUI software is already included in the download package of the UI Editor, while the debugging board needs to be purchased separately.
To initiate the process, launch the LT UART GUI and connect the HMI Display to the debugging board. Then, insert the USB cable extending from the debugging board into a USB port on your PC. It is recommended that your PC's operating system be Windows 10 or above, as the system will automatically install the necessary drivers upon recognizing the debugging board. This recognition will subsequently trigger changes in the SerialPort configuration.
Next, click on "Open Comm" to establish a connection with the open port. Afterward, navigate to "Input File" and specify the file paths for both the MCU Code and Flash Code that you intend to program. Once the paths are correctly set, execute the "Update MCU" and "Update Flash" commands sequentially to program each component individually.
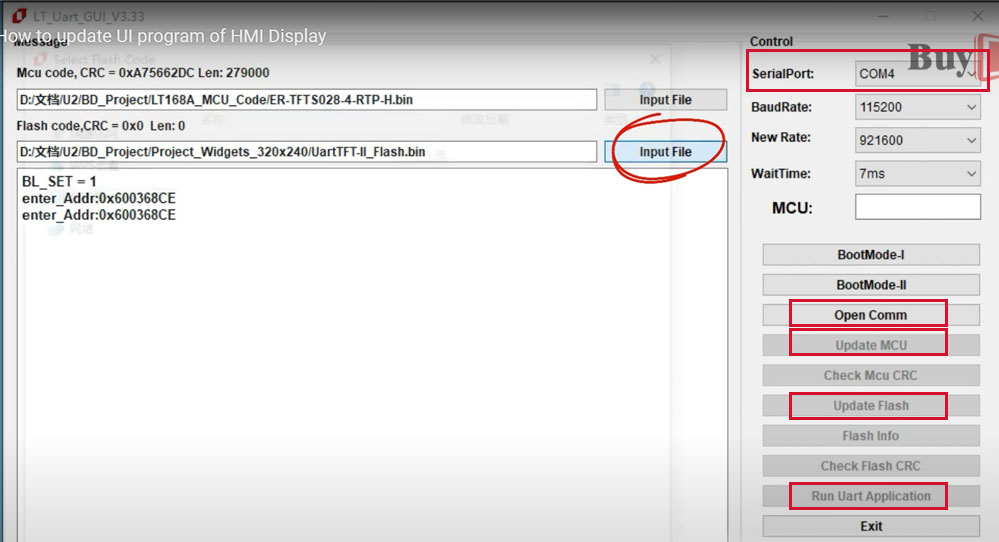
Note: When programming UartTFT_Flash.bin, it usually takes a little more time to go through the [erase] and [write] operations because of the characteristics of the SPI Flash.


The information below is required for social login
登录
建立新帐户